Following on from my Boro Bag Post . I want to talk a little today about Needles, Threads and Fabric for Boro Stitching.

Basically to get the best results (and the most stress free Stitching experience) you need to use the best combination of needle and thread for the fabrics you are using.
Because, if you use a needle that is too small or big for you fabric and chosen thread your gonna hit problems, and at the very least your work is going to fight you. Basically not so much fun as frustration. So it pays to use the right tools for the job.
There are numerous types of Needles and Threads to use when sewing, which basically depend on the fabrics you are stitching and the effect you want to achieve. I could write a blog post on each one. But today I just want to focus a little on Needles, Threads and Fabrics for more traditional Boro Work.
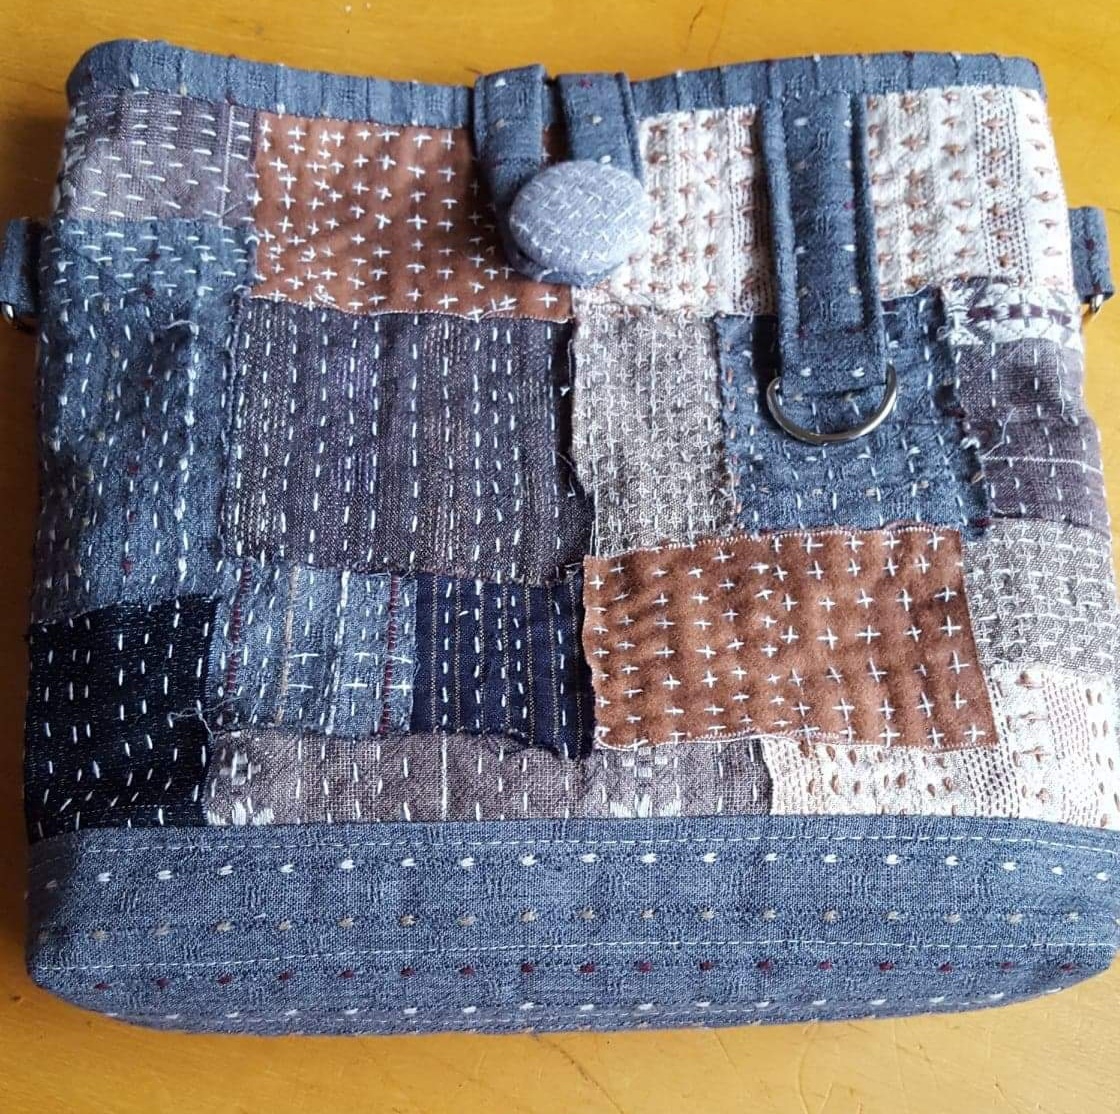
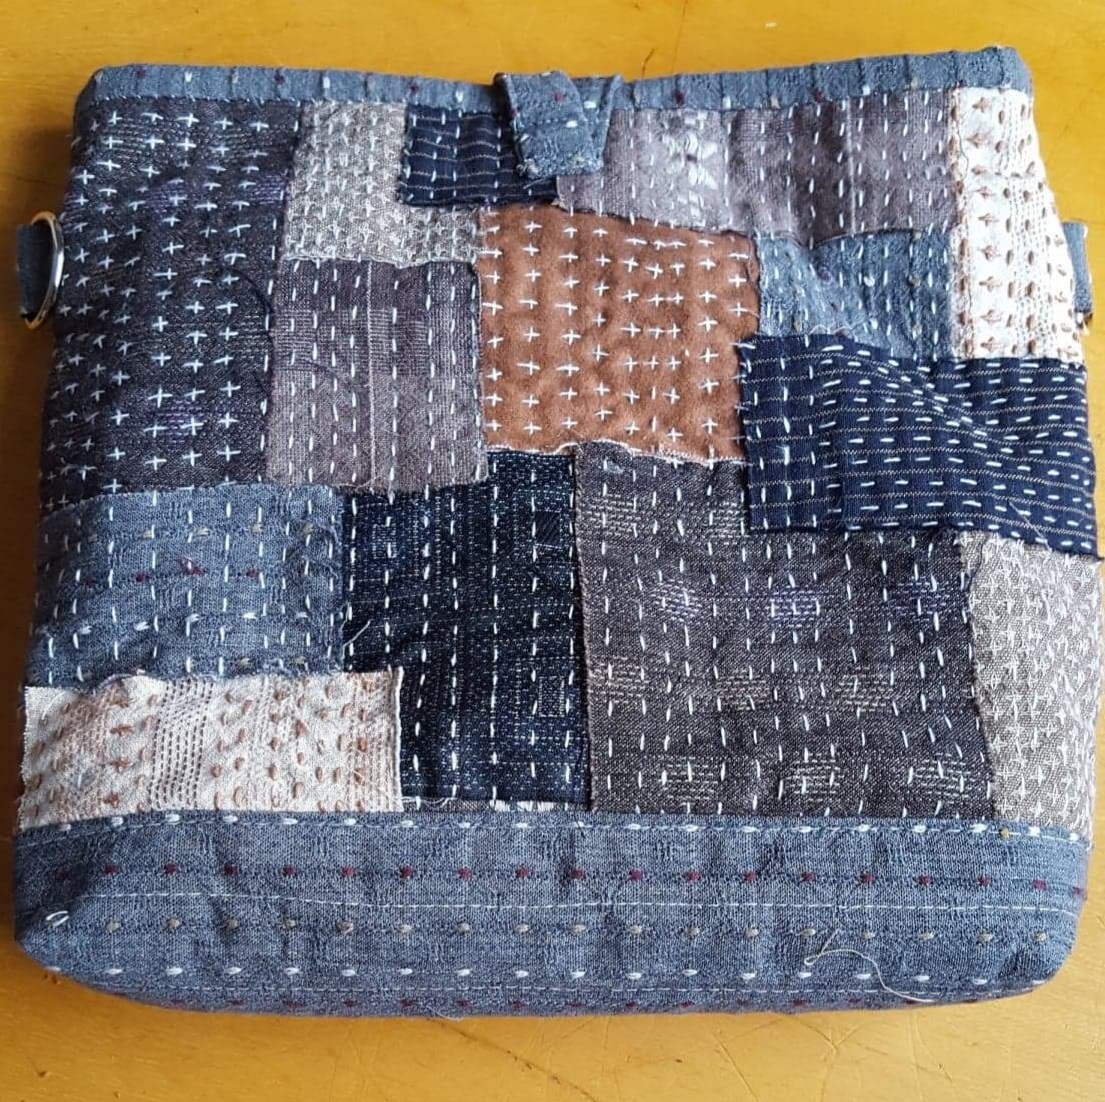
You'll probably be pleased to know that Boro is traditionally worked with thicker threads and bigger needles! It's one of the reasons I love Boro, it's not fiddly and delicate it's simple and bold. And this simple bold work creates (in my humble opinion) a visual feast for the eyes.
Visible Mending. That's quite new wording for me. I have always thought of such work as patching, you know, cutting a patch of fabric to cover a hole, rip or tear and simply stitching it onto said fabric, usually clothing, and stitched to blend in. I'm thinking boys trouser knees and pockets! But nowadays invisible Mending has been eclipsed by Visible Mending. You may think Visible Mending is a relatively new kid on the block, making a point of seeing the Mending. But no, the Japanise have been 'Visible Mending' for ever........ for more information on Boro
Traditional Boro fabrics are a slightly heavier weight and a more open weave than the Patchwork and Quilting fabrics many of us use. And that slightly heavier weight means thicker threads and Needles are ideal.
Fabric
For Sashiko and Boro it's best to use as Medium Weight Woven fabric with quite an open weave. The needles and Threads you will be using are quite thick to match the fabric weight. If you try and use a tight weave fabric the needle and thread will have difficulty penatrating it. It won't be easy to work and won't look right either. So save yourself the frustration and choose suitable fabrics. Check out the fabrics in the Susan Brisco link at the bottom of this post..
Threads.
Firstly, there is the obvious choice, the thread that the Japanese would use for Boro. And this thread is called Sashico Thread. It is becoming more readily available, usually through specialist stores though. And more colours too (used to be mainly cream or indigo). Obviously it's the ideal choice. But you can create Boro Work with lots of other thicker threads. Remember the stitching is meant to be seen. Embroidery threads can work well, and of course they are easily available and come in a plethora of colours. If I'm using a six stranded thread I use either two or three strands for Boro. Pearle Cotton can work well also, I quite like Pearle Cotton no. 8.
I've stitched out a sample piece for you to see the effect of a few different threads. There are others you might like to try. I'm just showing a few to give you an idea of what you can use. I've included a Hand Quilting Thread so you can see for yourself that it really isn't thick enough to create a bold stitch on Sashiko weight fabrics.

Needles.
Ideally with Sashiko Thread you would use a Sashiko Needle. They general come in two lengths. Use whichever you feel more comfortable using. You may well start and stay with the shorter needle. Or you may progress onto the longer one as you learn to put more Stitches on you needle. I've also used a Chenille Needle (no. 16 for me) as they are fairly widely available in shops.
The Sashiko Stitch itself is basically what I think of as a running stitch. Learn more about Sashiko History, point 6 of this link explains clearly the difference between Sashiko and Boro I think. Read a part of this link quote below.
Boro can be best defined as the mindful Japanese art of mending textiles, while Sashiko is a form of sustainable embroidery.

Above is a picture of some of my own Sashiko Stitching (along with some Appliqued Japanese Motifs. Note how different the Sashiko Stitch looks when used to create shapes as apposed to the simple straight lines typical of Boro Stitching using Sashiko Stitching.
It could be said that Boro Work although based on the Sashiko Stitch is a simpler form of Sashiko
So there you have it. My thoughts on Boro threads & needles.
I first learned Sashiko from a Workshop with Susan Brisco many years ago, and I thoroughly enjoyed it. But once I discovered Boro Work, I fell in love with it's simplicity. I think as someone who doesn't like lots of rules and regulations I find the freedom of Boro suits my need to be non conformist, while feeding my love of Sashiko or running stitch.
Want to buy some supplies? Or just checkout out what is available take a look a this link to the Susan Brisco Shop.
Are you enjoying my musings? Check out my Social Media Links