Here is a link to the Japanese Boro Bag Tutorial I used to make my own Boro Bag below.
And read about Sashiko and Boro Work
This tutorial has lovely pics and some basic instructions. I'm just going to go into a little bit of detail on how I put this bag together for those of you who need a little more detail. So this post is not how to make the bag. The Japanese Boro Bag Tutorial link above does that. This post simply gives a little more detail of how I made the Boro Bag. So follow the link instructions. They may well be enough for you to make your own Boro Bag. If not, here are a few details of how I made mine.
Making tabs
I used my contrast fabric but later realised it would have been easier to use the webbing I bought for the strap. You will need two pieces approx 3" to attach the bag strap, one approx 7" for the fob.and a slightly thinner piece about 9" for the fastening loop. The bag webbing I used was 25mm/1". To make the fastening loop I cut a 1" strip from my fabric approx 9" long.
See Pics below for:
Detail of where to stitch webbing for strap.
Fob placement and stitching to main bag.
Detail of Fastening Loop
Making a Lining
Once you have the outer bag including the base and stitched together, you need to make a lining for you bag.
Simply cut out a piece of your chosen lining fabric the same size as your outer bag.

Next stitch up the sides of you lining. This will leave you with a lining pouch that you simply drop into you main bag (once you have stitched up the sides of your main bag). Remember to shape the bottom of your lining in the same way as the outer bag.The lining needs to drop into your bag with the wrong side of the lining facing the wrong/inside of your bag.

Above is my bag lining. I chose to add a pocket. But you can skip this step if you like. Note, the lining will need to be turn thru so the raw edges are on the outside before you drop it inside your main bag.
Strap Tab placement for main Bag Fabric

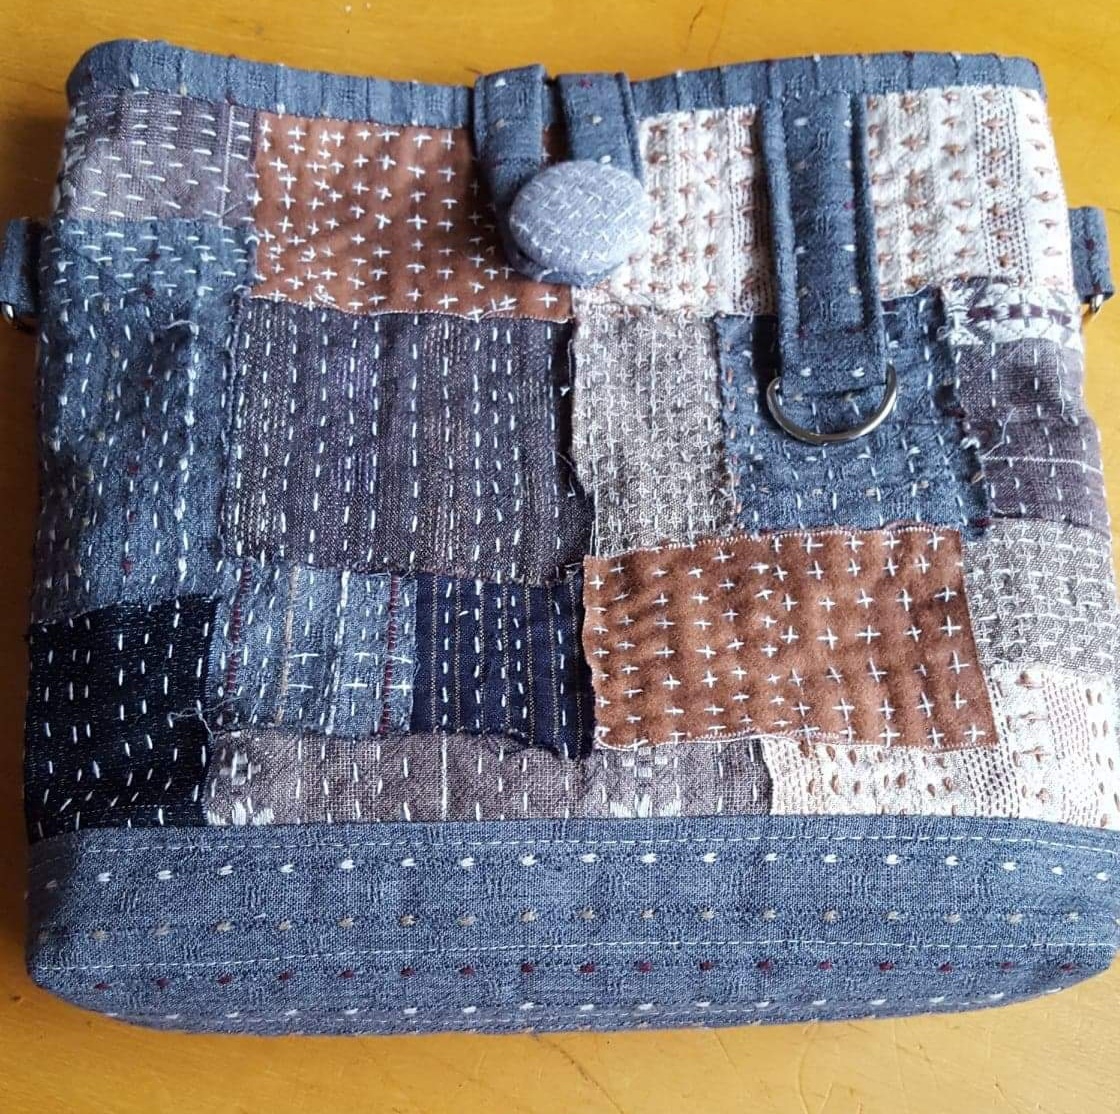
I then pinned the front toggle in place and stitched around the top edge using a long stitch on my sewing machine to hold it all in place. You could hand tack this if you prefer. You can also just see the little tabs ready for the strap on either side of the bag.

Top Binding
Measure around the top opening of you bag & make up a binding 3" longer using your contrast fabric. How I make my binding
Stitch the binding to the inside of your bag top. How I attach my bindings

I then hand stitched the binding to the front of my bag.

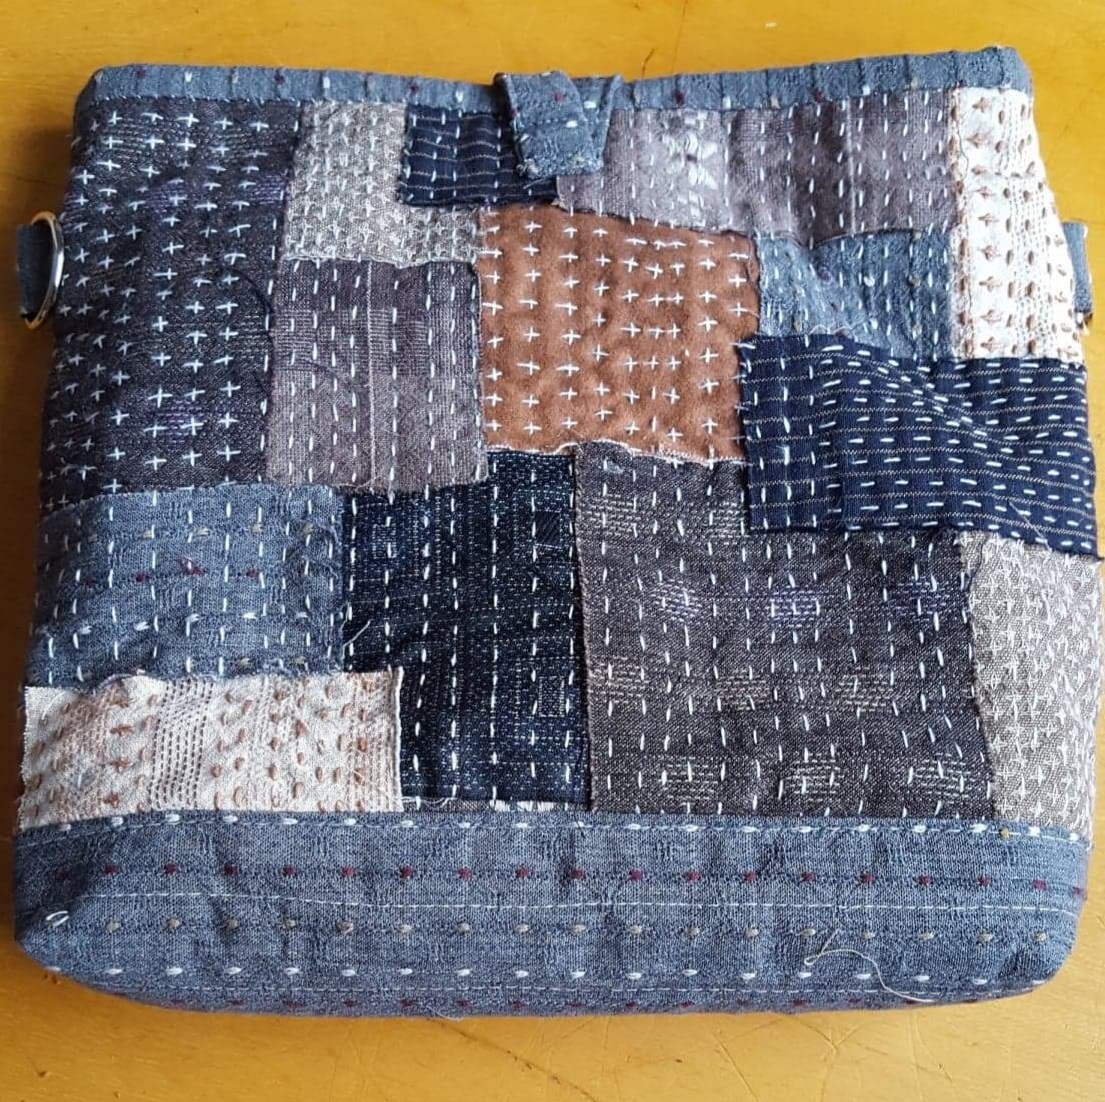
Next I attached the Fastening Loop. Can you see where I have machine stitched it to the back of my Boro Bag
Here is a close up of the front of the Fastening Loop and the lovely button I used. It was a fabric covered button I had in my Button Box which I added some hand stitching to. I'm quite proud of that!!


No comments:
Post a Comment