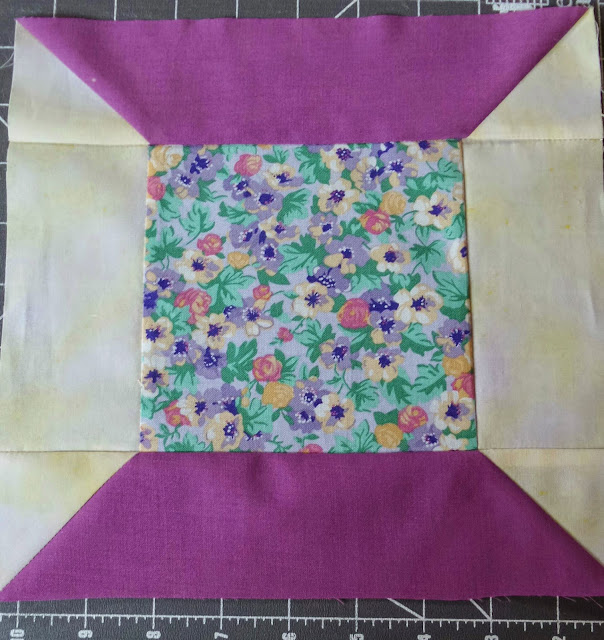
Here is how I put together the spool Block we are making from The Beginners Guide to Quilting book we are using at the moment.
SCROLL to the bottom of the page for my Top Stitching Tip AND Today's musical interlude.
SCROLL to the bottom of the page for my Top Stitching Tip AND Today's musical interlude.
Here are all the pieces for one block
Below they are laid out as per the finished block
Take the centre square and stitch on the two sides

And Press

Take the four small squares and place them on either end of spool top and bottom
Mark a diagonal line with your fabric marker of choice

Stitch along the marked lines
Trim off excess fabric
Quarter of an inch is good

Line up and stitch to middle section
One at the top and one at the bottom
And hey presto
You have a spool block
Here is the book we are working from.
It's proved rather elusive.
The book of the same name on Amazon is not the same book.
This book is actually classed as a bookazine - not quite a book, not quite a magazine.
It was published last year (2014) through Future Publishing
Although no longer in stock on line with them.
It is often available in W.H. Smith in the UK
Usually amongst the magazines.
Almost everyone in actual class now have a copy.
But if I'd realised how difficult it would be to get hold of.....well...
Top Tip
To avoid your machine chewing up the beginning of blocks sewn on point.
Start your stitching onto a piece of spare fabric (make sure it's two layers of fabric)
and continue without stopping onto your actual block - see pic below - green fabric is the spare piece.
You simply snip the spare fabric off once you've completed your stitching.

Yours in Stitches, Joy
Meanwhile
Somewhere over the Rainbow - with the lovely mellow voiced
Israel "IZ" Kamakawiwo'ole
Click on the link
Relax and EnJoy


1 comment:
Great tip about spare material to start off, I often get "chewed up" stitching.....
Post a Comment